
Thermostat wire colors play a crucial role in ensuring your heating and cooling system operates efficiently. This guide provides insight into the various colors, their functions, and the importance of understanding thermostat wiring color code for optimal operation.
Understanding the Intricacies of Thermostat Wires
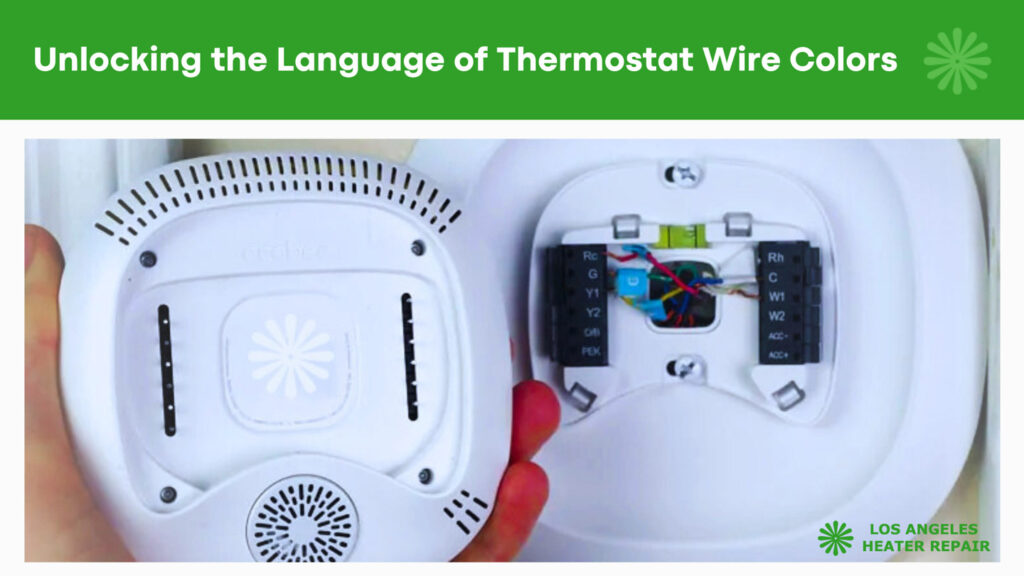
The world of thermostat wiring might seem complex at first glance, but it’s essential for the operation of your heating, ventilation, and air conditioning (HVAC) system. When it comes to standard thermostat wiring , each wire serves a particular function, sending a unique message to your HVAC system.
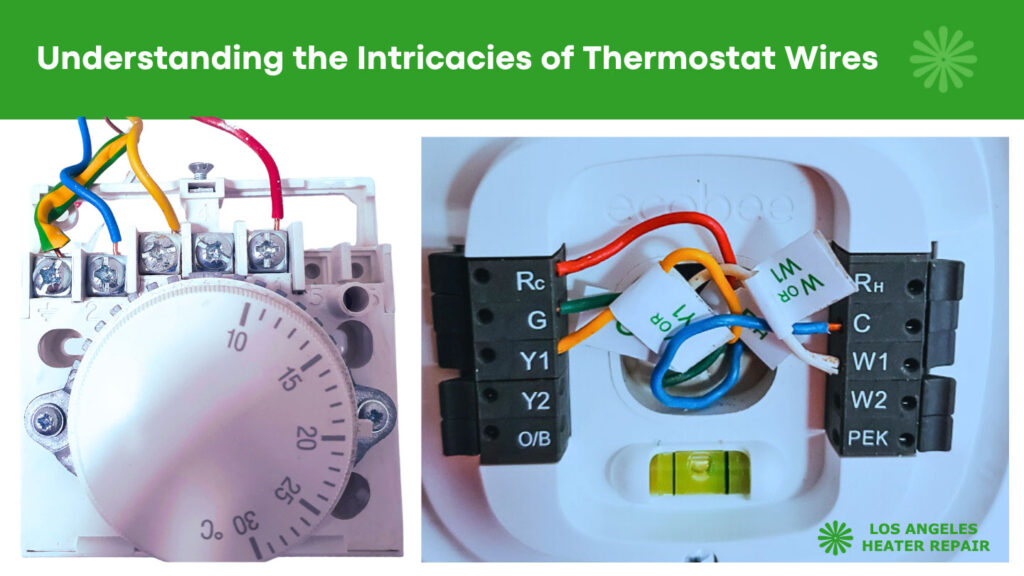
The wires, usually between 3 to 8 in number, are colored differently according to a standardized thermostat color code, making it easier to identify each one’s function. These thermostat wire colors are crucial in setting up your thermostat correctly, ensuring efficient system operation, and troubleshooting potential problems.
In systems like the heat pump thermostat wiring, additional wires may come into play to cater to the unique needs of the system, like the switching between heating and cooling modes.
Similarly, in modern ‘smart’ thermostats, you may come across a c wire thermostat, which is required to provide constant power to advanced features, such as WiFi connectivity and LCD displays.
Note: While there is a general guideline forthermostat wiring color code, some variations may occur based on the brand or age of your thermostat. Always refer to the manufacturer’s guide for precise information.
Understanding these thermostat wire colors and their corresponding functions is vital, especially when installing a new thermostat or diagnosing issues with your current system.
Demystifying the Thermostat’s Wire Color Code
When it comes to standard thermostat wiring, it’s vital to comprehend the thermostat wiring color code. The following is a comprehensive breakdown of the thermostat wire colors:
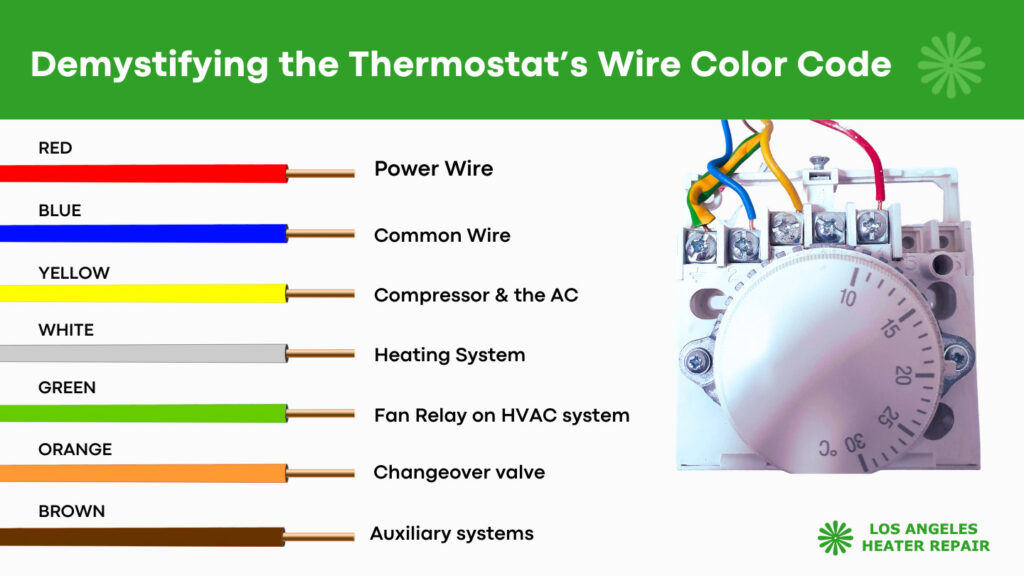
- Red Wire (Rh and Rc): Also known as the power wire, it is typically connected to the RC and RH terminals on the thermostat. There are two types – Rc which controls the cooling system, and Rh for the heating system.
- Blue or Black Wire (C): Known as the ‘common wire’ or the C wire thermostat, it provides continuous power to the thermostat.
- Yellow Wire (Y): The yellow wire is connected to the thermostat’s Y terminal. It controls the compressor and triggers the air conditioner.
- White Wire (W): The white wire is typically connected to the W terminal and controls the heating system.
- Green Wire (G): The green wire is connected to the G terminal and controls the fan of the HVAC system.
- Orange Wire (O/B): This wire is used in heat pump systems, where it controls the changeover valve.
Note: Remember that thermostat wiring color code might differ slightly based on the brand or age of your thermostat. Always refer to the manufacturer’s guide when in doubt.
Thermostat Wire Colors and How They Connect
Each thermostat wire color connects to a specific terminal. However, the way they connect can differ depending on the number of wires used. Here’s how they generally connect:
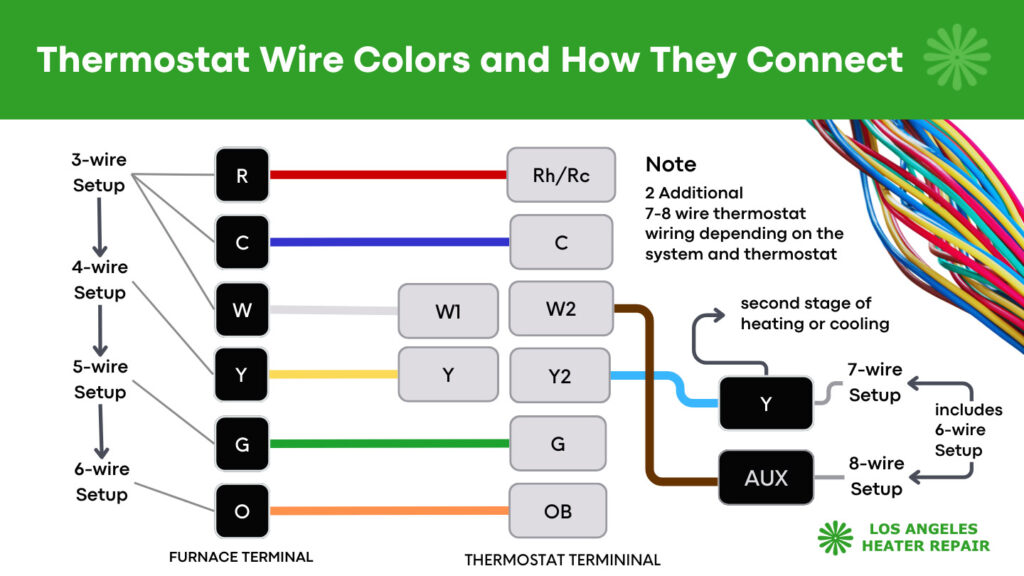
- 3-wire thermostat wiring color code: In most cases, you’ll find a red wire that goes to RH (power for heating), a white wire that connects to W (heating system), and a blue wire, also known as the C-wire, that supplies constant power to the thermostat.
- 4-wire thermostat wiring color code: The red wire goes to RH, green to G (fan control), yellow to Y (cooling system), and white to W.
- 5-wire thermostat wiring color code: Here, the red wire connects to RH, green to G, yellow to Y, white to W, and there’s an added blue or black wire which is the common wire (C) that provides constant power to the thermostat.
- 6-wire thermostat wiring color code: In this setup, the red wire connects to RH, green to G, yellow to Y1, white to W1, black to C, and orange to W2 or Y2 (second stage heating or cooling).
- 7-wire thermostat wiring color code: This includes all the wires from the 6-wire system, with an added blue wire for the second stage of heating or cooling.
- 8-wire thermostat wiring color code: This configuration includes all wires from the 7-wire setup, plus a brown wire that’s often used for auxiliary systems.
Important: Wiring configurations can vary, especially with smart thermostats and heat pump systems. Always follow the manufacturer’s guide or consult with a professional if you are unsure.
Typical Challenges and Fixes
Understanding the thermostat wire colors and their respective connections can help you troubleshoot some common issues:

- Heating or Cooling Doesn’t Start: This could be due to the wires not being connected to the right terminals. Cross-check the thermostat color code with the manufacturer’s guide and rewire if necessary.
- System Shuts Down Unexpectedly: This might be due to power issues. Check the red wires (RC and RH on thermostat) and blue or black wires (C wire thermostat) for proper connection and signs of damage.
- Incorrect Temperature Reading: A misreading can be due to the location of the thermostat or a faulty sensor. You might need to relocate the thermostat or replace the sensor.
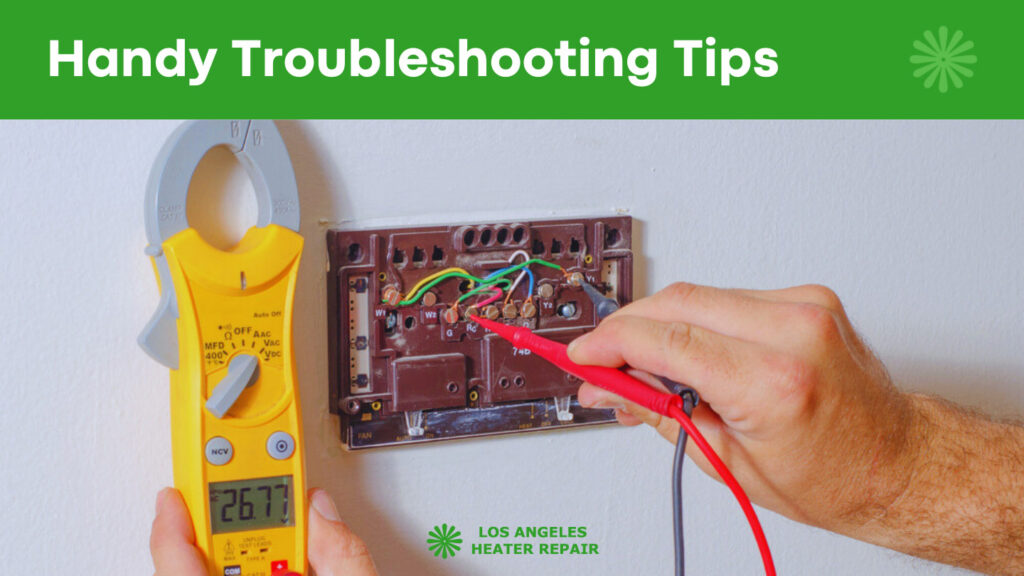
Handy Troubleshooting Tips
While thermostat wiring might seem complicated, these tips can make the process a bit easier:
- Always refer to the manufacturer’s guide for your specific thermostat wiring color code before starting.
- Take a photo of your original wiring before disconnecting anything. This could be a lifesaver if you get lost mid-way.
- Make sure all thermostat wire colors are connected securely to the right terminals.
- Use a multimeter to check the voltage of your wires, especially if your thermostat is not turning on.
- If you’re installing a new thermostat, check if your HVAC system needs a C-wire. If it does and you don’t have one, you might need to install one or use a power adaptor.
Reminder: If you’re uncertain about any step in the process, it’s best to call a professional. Handling electrical systems without sufficient knowledge can be dangerous.
Calling in The Experts
If you’ve tried everything and are still facing issues with your heat pump thermostat wiring, it’s time to call in an expert. Remember, there’s no harm in seeking professional help when needed.
Frequently Asked Questions
Now let’s quickly cover some common questions related to Frigidaire refrigerator troubleshooting:
- What does the H1 code on a Frigidaire refrigerator mean? The H1 error code signals a problem with the temperature in your fridge or freezer.
- What causes the H1 code to appear on my Frigidaire refrigerator? It usually shows up when the refrigerator temperature sensor, also known as the thermistor, is malfunctioning.
- What steps can I take to fix the H1 code on my Frigidaire refrigerator? Reset the refrigerator by unplugging it for a few minutes. If the code persists, the thermistor might need replacement.
- How do I test the thermistor in my Frigidaire refrigerator? You’ll need a multimeter to measure the thermistor’s resistance. If it falls outside the manufacturer’s specified range, the thermistor is defective.
- How do I replace the thermistor in the refrigerator or freezer compartment of my Frigidaire fridge? You’ll need to open the panel where the thermistor is located, remove it, and install a new one. Always unplug the fridge first!
- What should I do if the H1 code still appears after replacing the thermistor? If the error persists, it might be time to call in a professional for further diagnosis and repair.